Rendering a Colored Point Cloud in BLENDER.
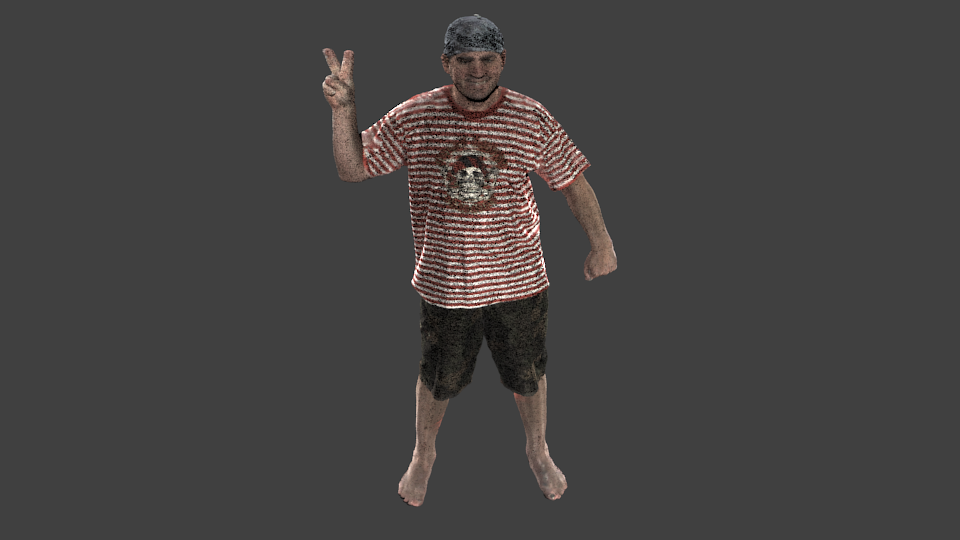
This Image shown above is a Point Cloud Rendered using BLENDER.
The problem with rendering a point cloud in Blender is that it is built to work with meshes. Any mesh format be it .ply, .obj etc has face information . But Point Cloud has only information of vertices and their attributes. The point cloud .ply file that I have rendered using the method described in this post has following vertex attributes :
vertex position : <x, y, z> vertex normal: <nx, ny, nz> vertex color: <r, g, b, a>
If you don’t know the format of a .ply file then you can have a look at this link:
http://paulbourke.net/dataformats/ply/
The method that i have used is a 2 step process-
Generate splats at each vertex and save this information in new .ply file. Import this new .Ply file in Blender and Render it.
Step 1 : Generating Splats
A splat can be though of a quadrilateral, usually square, having its center at the vertex point for which it is generated. We do this step because the smallest primitive that Blender handles is a plane. So, keeping this in mind we create small planes at all the vertices in the point cloud and orient them perpendicular to the normal at these vertices.
The main mathematical ingredient to orient the splats perpendicular to the normal at each vertex is: For a vertex V = <a,b,c> having normal : <nx, ny, nz>
float magNormal= sqrt (nx*nx + ny*ny + nz * nz); // magnitude of the normal vector
double theta = asin(ny/magNormal);               // angle between the normal and the x-z plane
double phi = atan(nx/nor.z);                     // angle between 'normal's projection on x-z plane'  and z-axis.
RotateX(P,theta);                                // rotate vector P at angle theta about x-axis.
RotateY(P,phi);                                  // rotate vector P at angle phi about y-axis.
Translate(P,pos);                                // Translate the vector P by vector 'pos'.
To explain what is happening here
A plane/splat of a specific size is created in the xy plane , i.e having its normal along the Z-axis. Rotate the plane about X axis and Y axis by angles theta and phi respectively.
Translate the rotated plane to the position of the vertex, forming the center of this splat. When all the vertices have been processed we will have a splat at each vertex , therefore we will have face information. Now we write all this new information in a new .ply file.
The C++ code to read a binary .ply file and generate a splatted .ply file can be downloaded from following Github repository (getting this code working properly costed me 3 MANGO SHAKES!!! :D):
Step 2: Importing .ply files in blender and Render them
The .ply files can be imported in blender by File>Import>.ply file, then select the .ply that you have just created in the above step. Once imported in the Blender then you are ready to render it , just one more thing to be done.
Blender by default comes with 2 different rendering engines
Blender Render (blender’s internal renderer) Cycles
To get the colored rendering of the splatted point cloud you need to switch on the vertex color attribute no matter which renderer you use. You can refer to the following post to switch on the vertex color attribute:
http://blendersushi.blogspot.in/2012/03/basic-working-with-vertex-color.html
Since now, you have switched on the vertex color, set the camera at appropriate location and